
Building a Cold-Chain Monitor with the SHT-30 Weatherproof Probe
The SHT-30 is a weatherproof probe that measures temperature and humidity over four wires, a connection called I2C that the board reads directly. It wires straight to the ESP32, which sends measurements to an endpoint for use.
1 · The parts
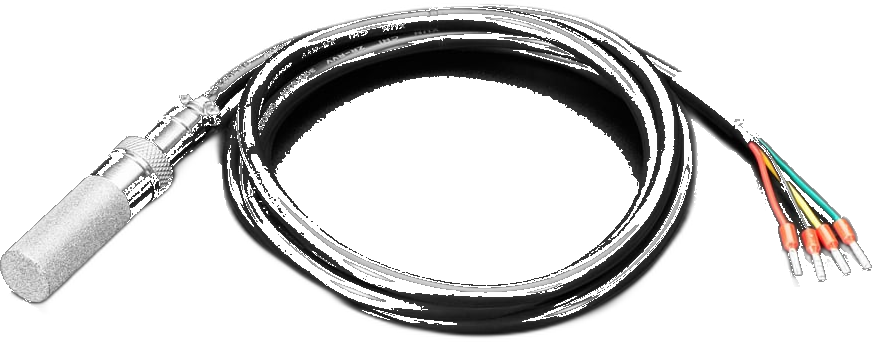
1 × SHT-30 weatherproof probe
The probe lives in the cold space; its 1 meter cable carries power and readings to the board outside.
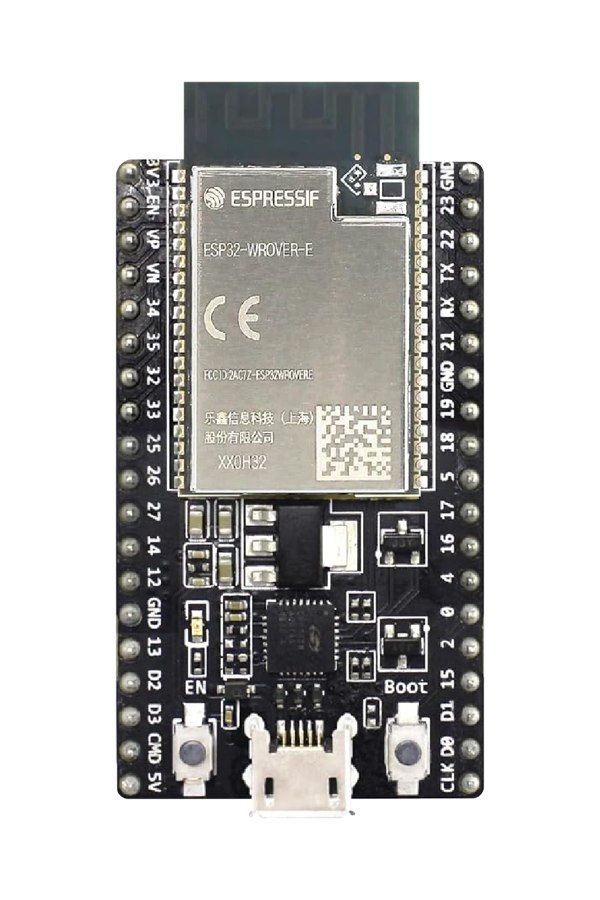
1 × An ESP32 board
Reads the probe over I2C and pushes each reading to the endpoint you own.
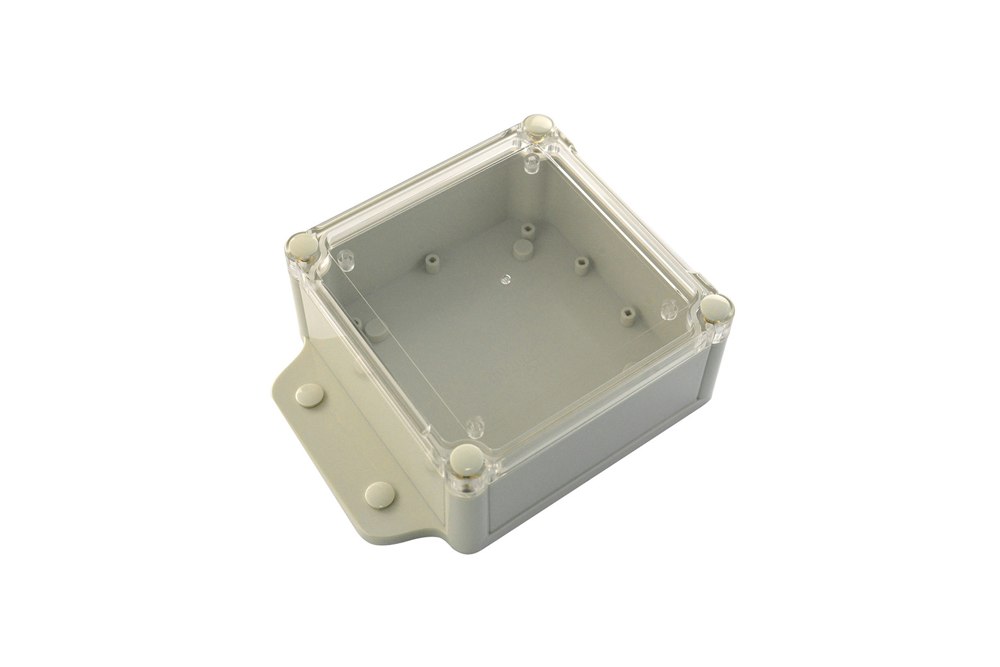
1 × IP65 sealed project box
Keeps the board dry when it mounts in a washdown room, a barn, or outside.
1 × USB power supply and data cable
Powers the board around the clock; the probe is powered by the board.
2 · Load the program
“Flashing” means loading the program onto the board, the way you would install an app on a phone. Do it first, at the bench: plug the board in over USB and press the install button for your board on the program’s own page. The board does not need its sensor connected to take the program; the program waits.
3 · Wire and place it
Four wires run from the probe to the board: power, ground, clock, and data. The pull-up resistors the bus needs are already built into the probe cable, so the wires land directly on the board’s pins; the exact pins are set on the program’s setup page.
The probe lives in the cold space. The board stays outside in the dry, on USB power, and goes in the sealed box if its spot is damp or dusty.
4 · Choose where readings go
During setup the board asks for one address: where every reading should land. That is your webhook or MQTT broker. If you do not have one yet, use the Test Bench. Enter it in the program’s Set It Up section along with your Wi-Fi; its Push Now check tells you readings are landing.