
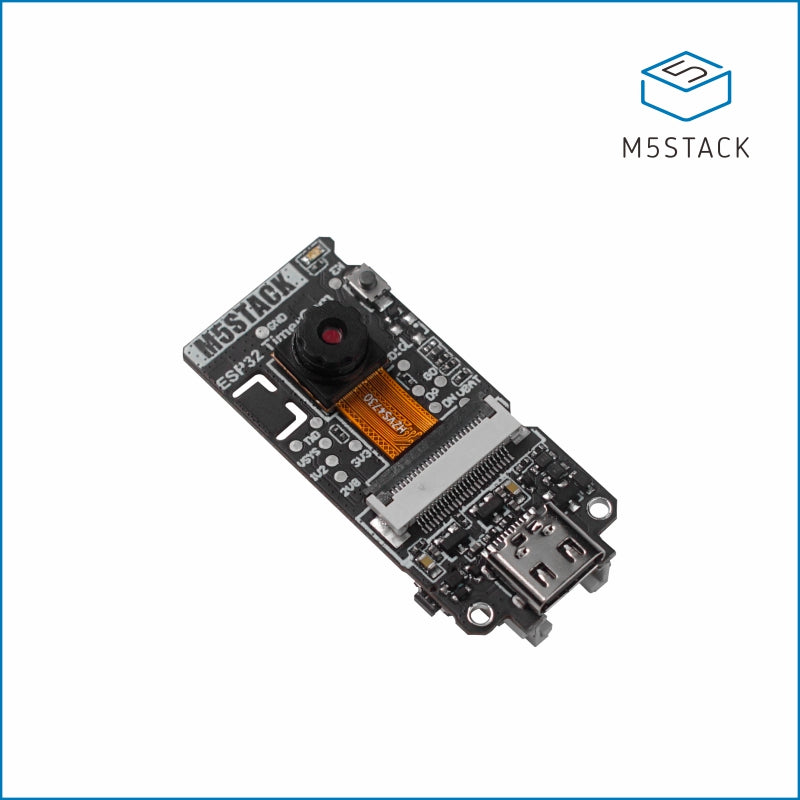
The ESP32-CAM packs an ESP32, a small camera, a microSD slot, and Wi-Fi onto one board the size of a large postage stamp, for a few dollars. That makes it the cheapest way to put a networked eye on a crop: a snapshot every few minutes, a season-long time-lapse, or a quick “is the greenhouse all right” view from your phone. It is genuinely useful and genuinely fiddly, and it pays to know both halves before you buy a handful.
What it is.
The classic board is the AI-Thinker ESP32-CAM: an ESP32 paired with an OV2640 camera, a microSD card slot for saving stills, and the ESP32’s built-in Wi-Fi to serve them. Flash it with the stock CameraWebServer sketch and it hosts a live view and a snapshot button on its own web page; flash it with ESPHome and the image flows straight into Home Assistant. For the price of a coffee, it is a camera you can put almost anywhere there is power and Wi-Fi.
The honest caveats.
This is where a clear head saves frustration. Three things trip up nearly everyone.
No USB port. The classic board has no USB at all, so you flash it through a separate USB-to-serial adapter, wiring a few pins and grounding one of them to enter flash mode. It works, but it is the opposite of plug-and-play, and it is the single most common reason people give up.
Modest image. The OV2640 is a 2-megapixel sensor with a fixed focus. It is fine for a snapshot or a time-lapse, but it is not the camera for reading fine detail or for serious plant vision.
Hungry, and fussy about power. The camera and Wi-Fi together pull real current in bursts, and a weak supply or a thin USB cable causes brownouts and reboots. Give it a solid 5 volt supply, not whatever cable is lying around, and a lot of mysterious failures disappear.
The friendlier successor.
If the classic board’s quirks put you off, the newer ESP32-S3 camera boards fix most of them. They have native USB, so you flash them over a plain cable, more memory, and enough power to run small on-device vision models. M5Stack’s camera units, the Seeed XIAO ESP32-S3 Sense, and Espressif’s ESP-EYE are all in this family. For a new build, an S3 camera board is usually the better starting point, and the same ESPHome and Arduino code largely carries over.
Key facts.
Where it fits, and where it doesn’t.
Where it fits
- A cheap networked snapshot of a bench or a door.
- Season-long time-lapse with stills to the SD card.
- A motion-triggered capture in a shed or coop.
- Learning camera streaming on a budget.
Where it doesn’t
Resources & where to buy.
ESPHome camera Espressif esp32-camera M5Stack camera units Cameras overview
Frequently asked questions.
What is the ESP32-CAM used for?
It is the cheapest way to put a Wi-Fi camera on a crop: a snapshot every few minutes, a season-long time-lapse saved to its microSD card, a remote check-in view, or a motion-triggered capture. It combines an ESP32, a small OV2640 camera, an SD slot, and Wi-Fi on one few-dollar board.
Why is the ESP32-CAM so hard to flash?
The classic AI-Thinker board has no USB port, so you flash it through a separate USB-to-serial adapter, wiring a few pins and grounding one to enter flash mode. It is fiddly and the most common reason people give up. A newer ESP32-S3 camera board has native USB and flashes over a plain cable.
Why does my ESP32-CAM keep rebooting?
Almost always power. The camera and Wi-Fi pull current in bursts, and a weak supply or a thin cable causes brownouts and reboots. Give it a solid 5 volt supply rather than whatever cable is on hand, and most of the random failures stop.
Is the ESP32-CAM good enough for plant vision or AI?
Not really. Its 2-megapixel fixed-focus camera is fine for a snapshot or time-lapse, but for reading fine detail or running AI detection, a Raspberry Pi with a camera module is far better. A newer ESP32-S3 camera board can run small vision models, but for serious plant vision the Pi is the path.